Practice reasoning when there is no class around it.
An independent learner has no teacher, no roster, and no institution. You sign in to the same student portal that assigned students use, but instead of a list of assignments you get the platform library: challenges you pick for yourself, run at your own pace, and keep the results of.
What is available today
Accounts are created for you; the library is yours to add to.
A platform administrator creates your account and sends you a temporary password. Everything on this page after that point works in the current beta: signing in, browsing the library, writing challenges of your own and editing or archiving them, running any of them, and reviewing your own finished runs. Signing yourself up is built but switched off in the beta, so an administrator still creates the account; choosing a plan, paying for one, and sharing a challenge you wrote with other learners are not built yet. Assigned students cannot open the library either; it is offered only to independent learners until the institution-level setting that would permit it exists.
Workflow 1
Getting an account
Ask a platform administrator to create the account
There is no self-service sign-up in the beta. A platform administrator creates your account in the admin portal and sets its role to independent learner, which is what makes the library visible to you. Nobody else can create or manage the account: teachers and institution administrators only ever see the students in their own institution, and an independent learner cannot be added to an institution at all.
Use the temporary password once, then set your own
The account is created with a temporary password that works once, handed to you by the administrator who created it. Sign in with it and Microsoft immediately asks you to choose a password of your own; the temporary one stops working the moment you have. If no temporary password reaches you, use "Forgot password?" on the sign-in screen and complete the email one-time code instead.
Accept the privacy policy and terms of use
The first time you reach the portal you are asked to read the privacy policy and the terms of use and tick both boxes before anything else loads. The record is kept against your account and against the version of each document you accepted, so you are asked again only when one of the documents changes.
Workflow 2
Signing in
Open the portal and choose Sign in
The portal opens on a sign-in card with a single Sign in button. Choosing it opens a separate Microsoft sign-in window; the portal stays open behind it and picks up again once that window closes.
Enter your email address, then your password
The Microsoft sign-in window asks for your email address first and your password on the next screen. This window belongs to the identity provider, not to the portal, so the portal never sees or stores your password.
Wait for the portal to load your dashboard
The sign-in window closes by itself when it is finished. The portal loads your dashboard behind it. Your email address is shown at the top right of the app bar for the rest of the session, so you can always tell which account you are working in.
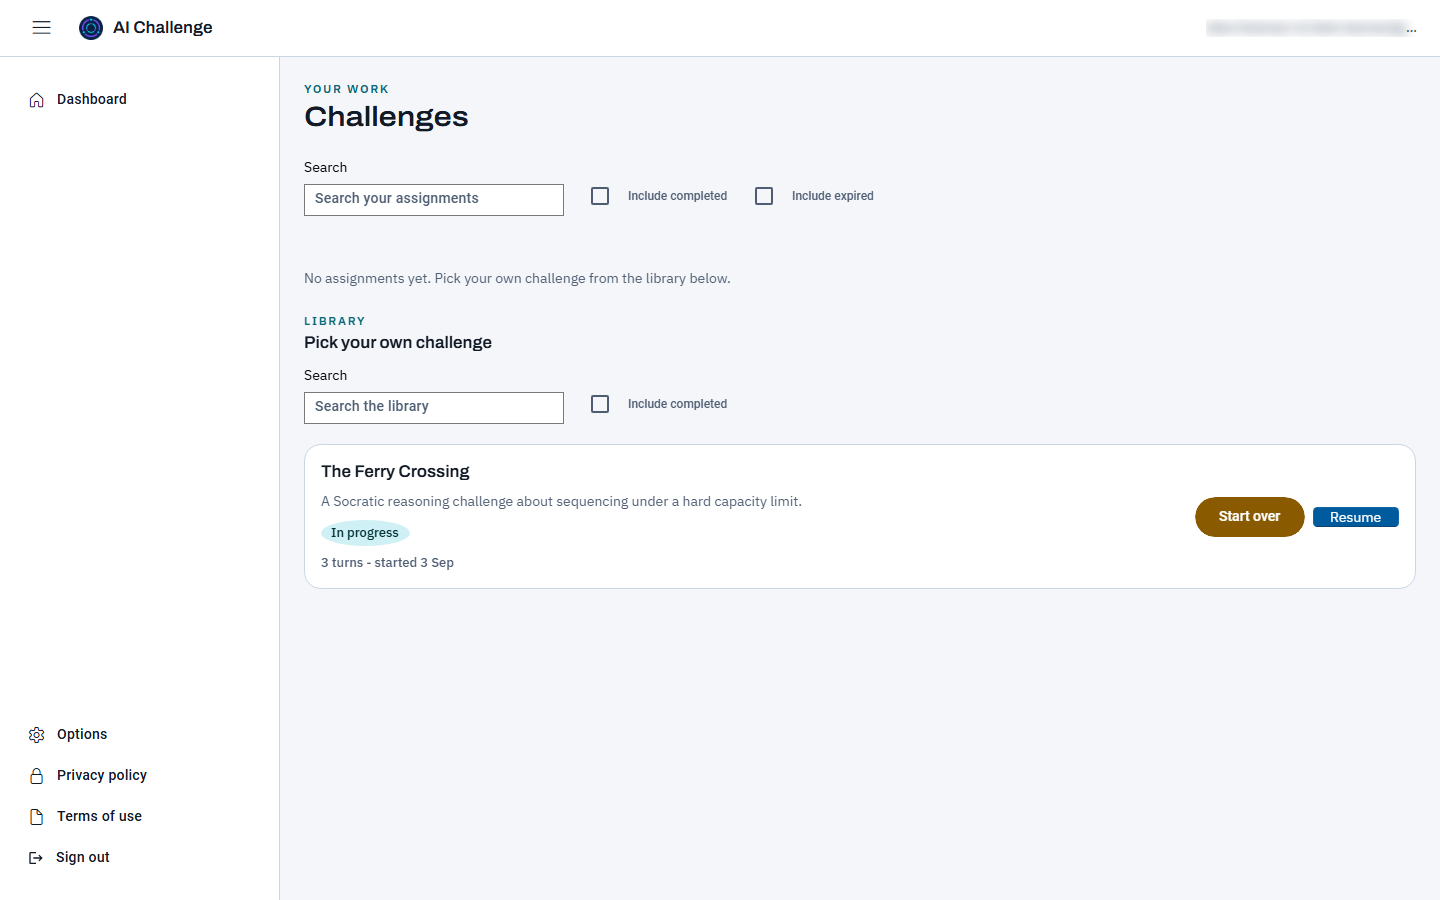
Your dashboard has a Library section headed "Pick your own challenge". It lists the challenges the platform publishes for anyone to run and the ones you have written yourself, each with a title, a short description, a status, and the buttons that open it. Your own challenges sort first and carry a "Yours" pill, and only they offer Edit and Archive; the Create your own challenge button beside the heading is where a new one starts (workflow 4). The assignment list above it stays empty and says so in words - "No assignments yet. Pick your own challenge from the library below." - because nobody assigns you work. The library is asked for from the server rather than decided in the browser, so if the section is missing it means the account is not set up as an independent learner.
The dashboard of an independent learner. Nobody assigns you work, so the list at the top says so and the library below it is where your challenges are.
Narrow the list with the search box
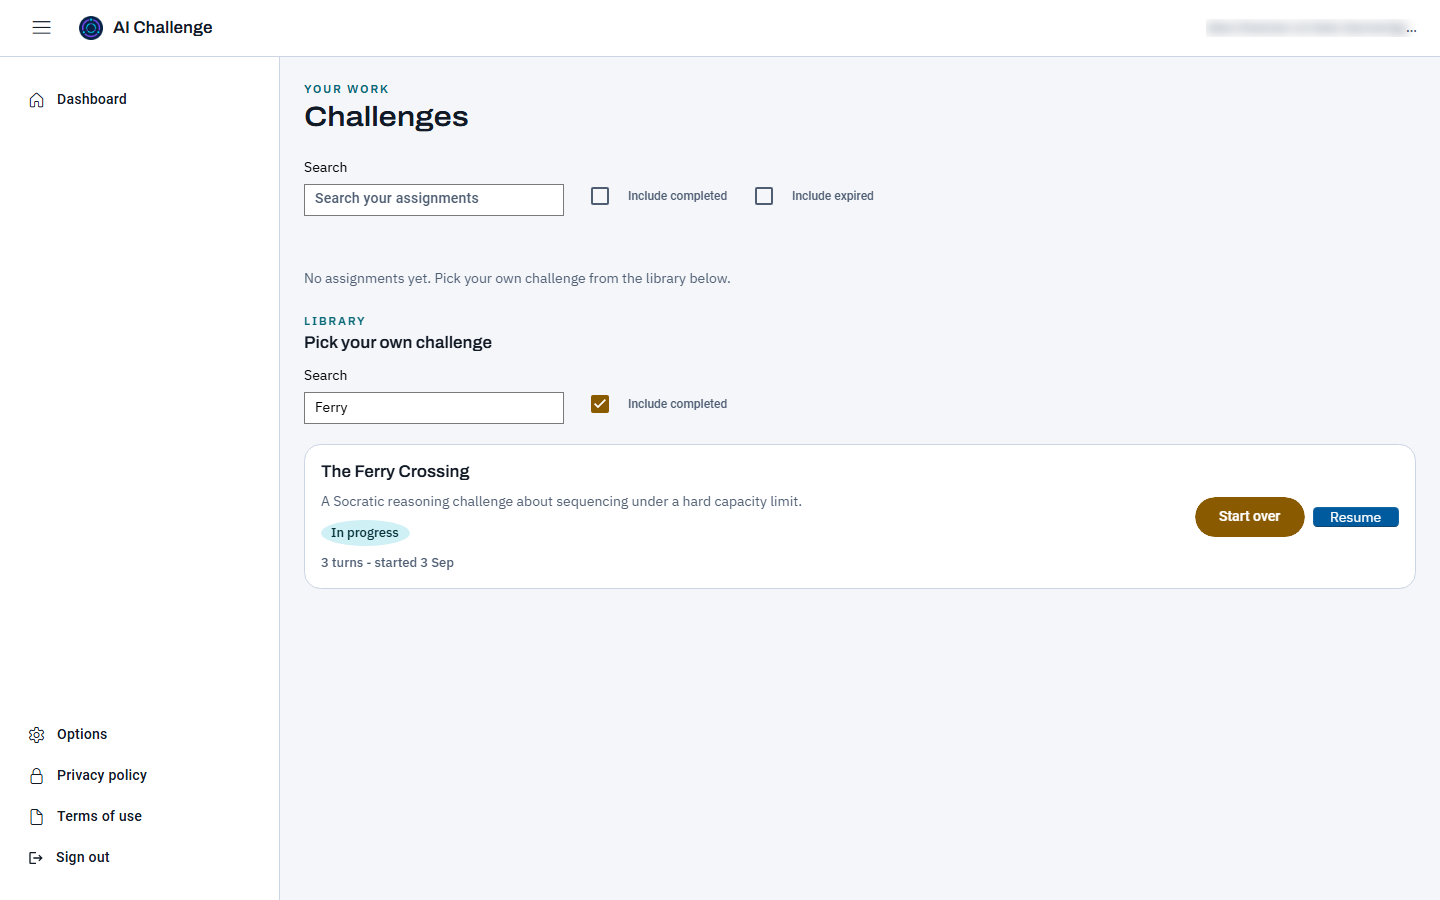
The library has its own search box, separate from the one above it. Typing filters the list as you type, matching on the challenge title. If nothing matches what you typed, a line under the list tells you so rather than leaving you looking at a gap. Clearing the box brings the whole library back.
The library has its own search box and its own Include completed checkbox, separate from the ones above it.
Tick "Include completed" to see the ones you have finished
Challenges you have finished and had graded are hidden by default so the list stays focused on what you have not tried. Ticking "Include completed" brings them back, each marked Completed and carrying a Review button beside its "Run again" one.
Use Prev and Next when the list runs past one page
The library shows ten challenges per page. When there are more, a Prev button, a page indicator reading "Page 1 of 2", and a Next button appear underneath the list. They are hidden entirely when everything fits on one page.
Workflow 4
Writing your own challenge
Choose Create your own challenge
The button beside the Library heading opens a page headed "Write your own challenge". What you write here is private: only you can see, run and edit it, and nobody else's library will show it. It is the same kind of challenge a teacher defines as a template, with the same agent and the same judge behind it, written in plain fields rather than anything technical.
Fill in the fields
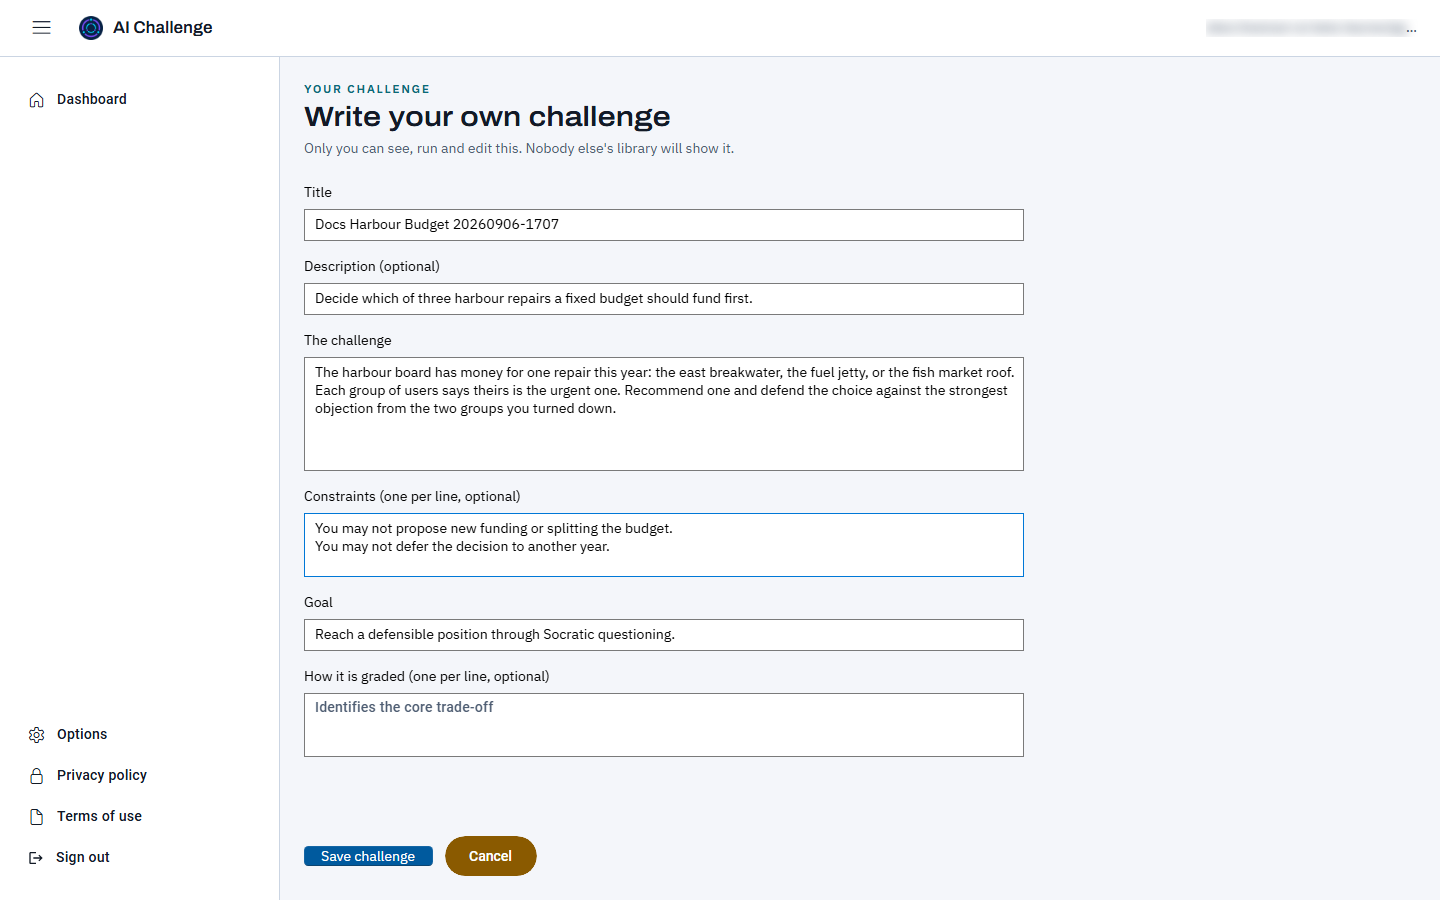
Title is required and is what the card in your library is called. Description is optional: one line about what the challenge is for, shown under the title on the card. The challenge is required and is the challenge itself - the dilemma, the situation, and what you must argue or decide. Constraints, one per line, are the moves you are not allowed to make, such as proposing new funding or deferring the decision; leave it empty if there are none. Goal is prefilled with what the agent steers the conversation towards, and How it is graded, again one per line, is what the judge checks your reasoning against; both take sensible defaults if you leave them alone, so a title and the challenge are the only two things you must write.
The editor, filled in and ready to save. The goal is prefilled; the grading box may be left empty.
Save it and find it in your library
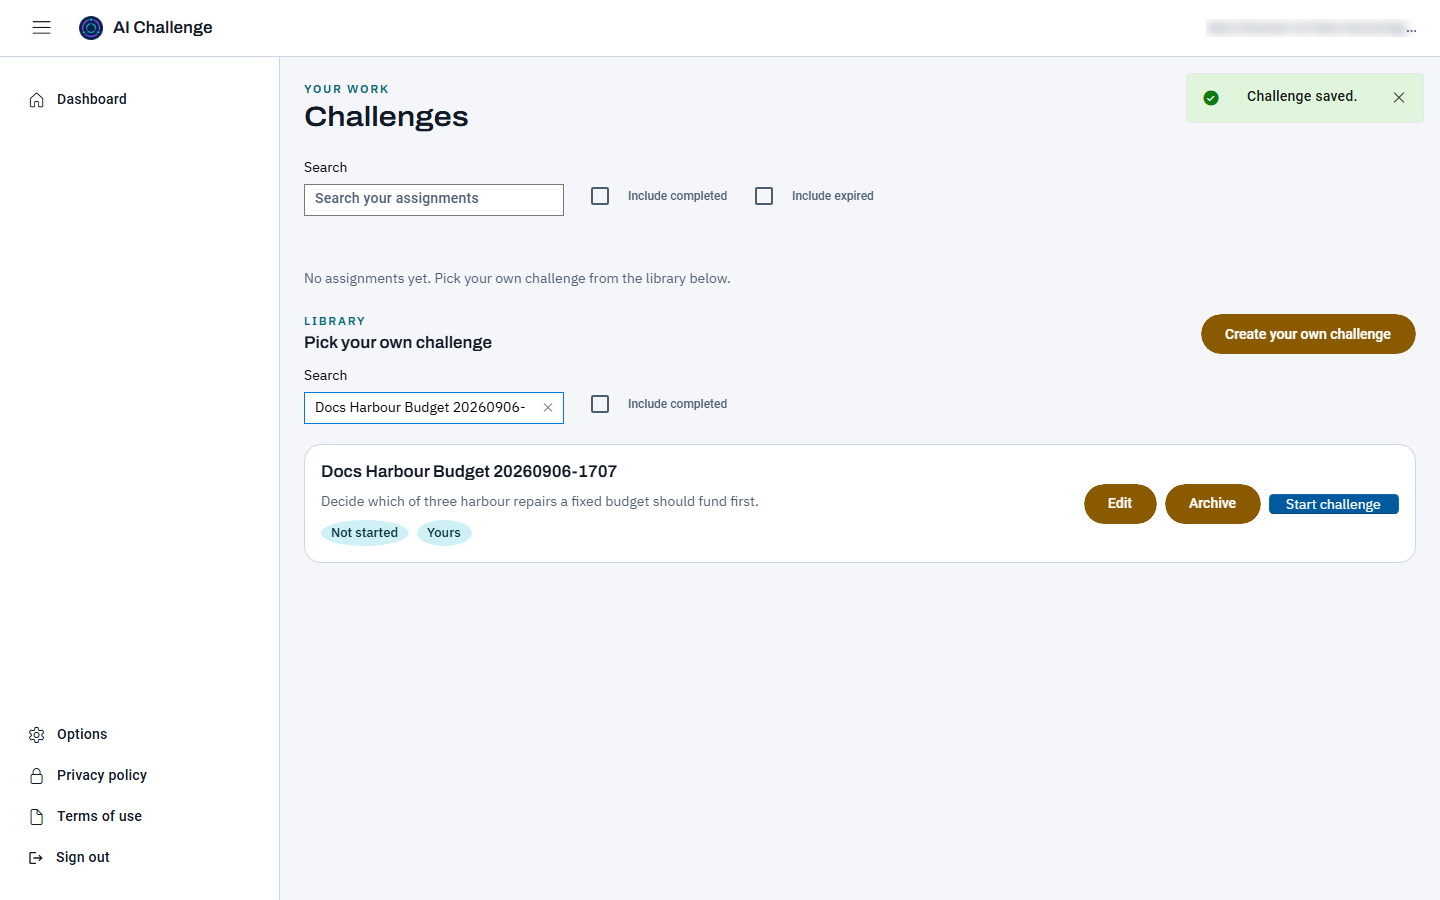
Save challenge publishes it and returns you to the dashboard, where the new card sits at the top of the library marked "Yours". From there it runs exactly like a built-in one: Start challenge opens a session with the agent, and everything in the next two workflows applies to it.
The saved challenge in the library, with the notice that confirms the save. The Yours pill and the Edit and Archive buttons appear only on challenges you wrote.
Edit it when you want to change it
Edit reopens the same page with everything filled in. Saving publishes a new version of the challenge; a run that is already open keeps the version it started on, so editing never changes a conversation part-way through, and your next run uses the new text.
Archive it when you are done with it
Archive takes the challenge out of your library at once, without a confirmation. Runs you have finished keep their result, but the card is gone and there is no way to bring it back in the beta, so archive only what you are sure you have finished with.
Workflow 5
Running a challenge
Choose the button on the row you want
The button reads "Start challenge" the first time, "Resume" while a run of it is open, and "Run again" once your last run has finished. All three open the session runner; the first and the last create a new session in the same step. A library run has no assignment behind it and no due date; it belongs to you alone.
Read the agent's opening message
The conversation opens with the agent setting out the scenario and what the challenge asks of you. Each turn is labelled with who spoke, so the record stays readable when you come back to it later.
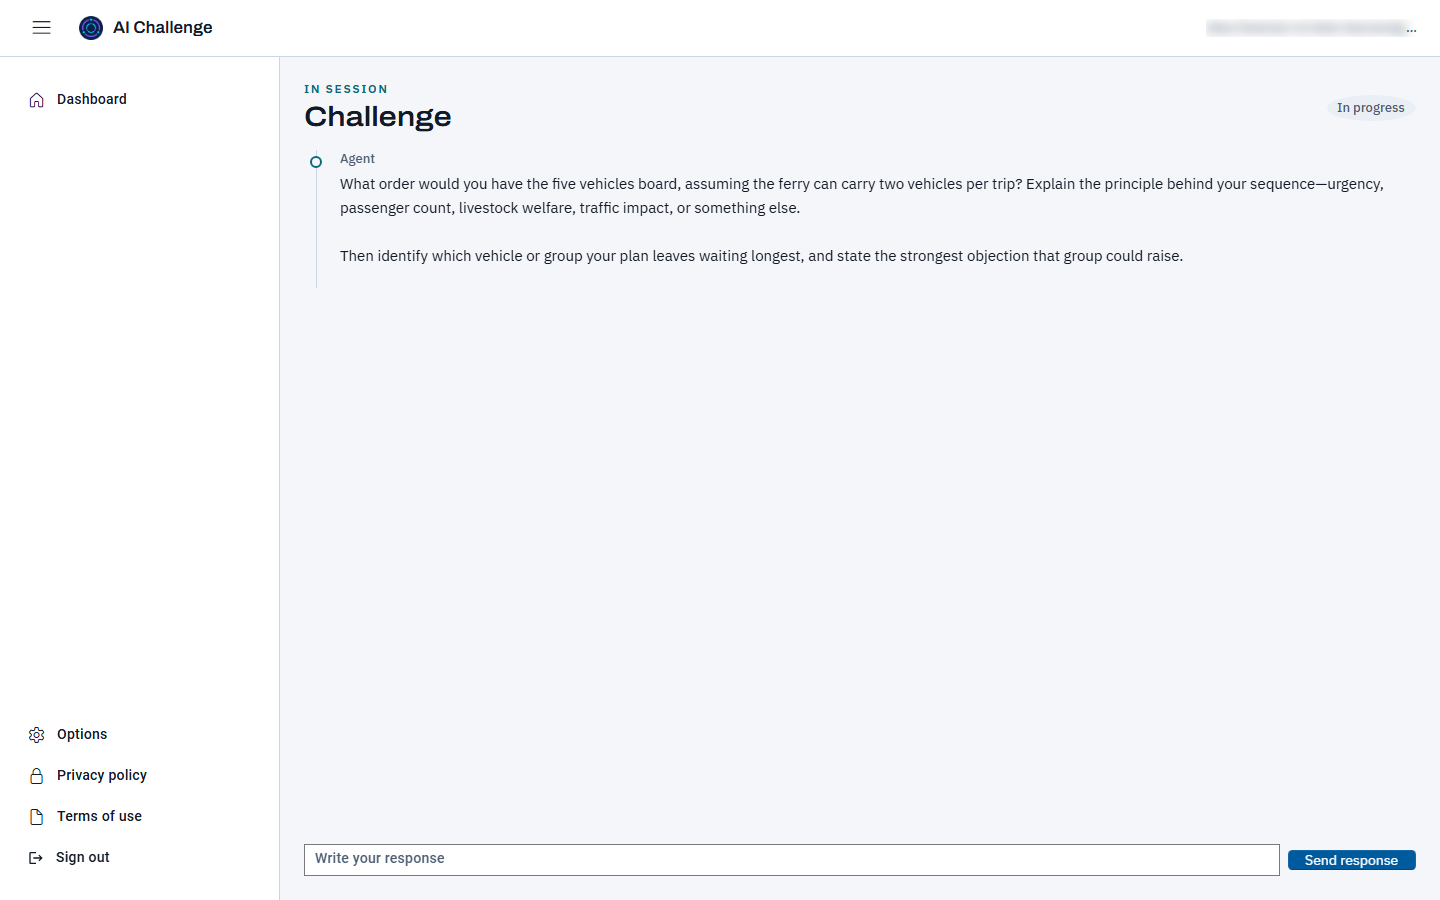
A fresh run of the library challenge. The agent's opening message sets the scene and asks for a proposed crossing order; the response box waits underneath.
Write your response and send it
Type into the box at the bottom and choose Send response. The button is disabled and a spinner appears while the agent is thinking, because a turn takes real time. When the reply arrives it is added to the conversation above the box.
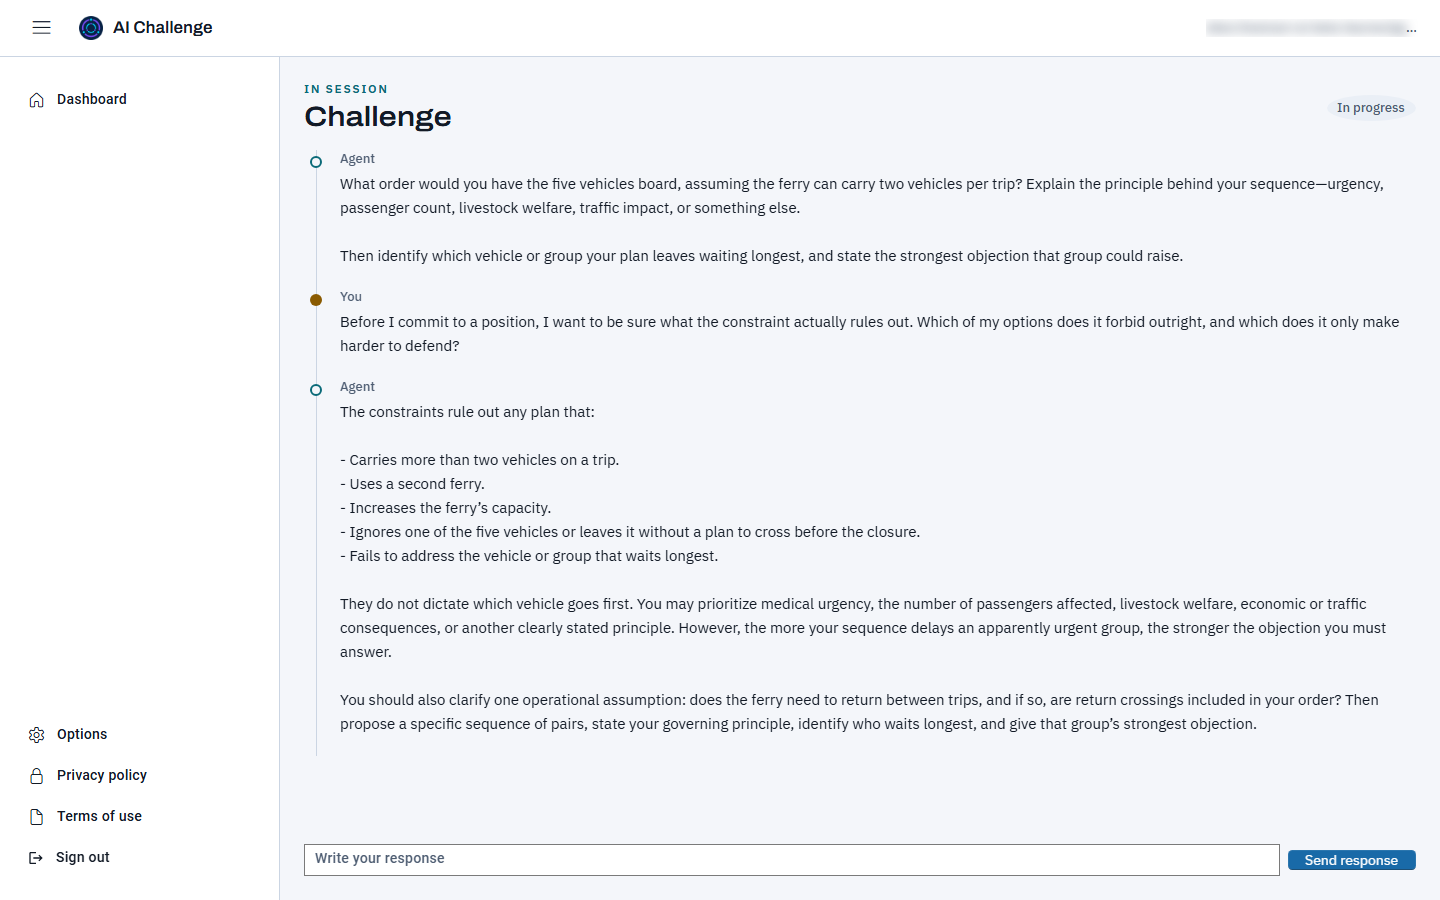
One turn exchanged. Your message is labelled You, the reply Agent, and the conversation grows upward from the box.
Keep going, or leave and come back
Your session is saved as you work. You can close the tab in the middle of a challenge; the row on your dashboard will read In progress with a Resume button, and resuming reopens the same conversation with its full history. If you would rather begin from a blank page instead, "Start over" beside it abandons the open run and starts a new one.
There is no separate history page. A finished run stays on its library row. The status reads Completed when it was graded, or Abandoned or Timed out when the run ended some other way. A row marked Completed is hidden until you tick "Include completed"; abandoned and timed-out rows stay in the list.
Choose Review to reopen the session
A row whose run produced a report carries a Review button beside its main one. Review reopens the same conversation you had, with a result panel showing your score and the summary written about your reasoning. The composer is gone, because the session is finished; everything else is exactly as you left it. A run that was abandoned or timed out never reached a report, so it offers no Review.
Choose Run again to have another go
Once a run has finished, the row's main button reads "Run again" and starts a fresh conversation from the same challenge. The row always shows your latest run, so starting a new one moves the row on to it; the beta keeps no browsable list of earlier runs, so read a result you care about before you start again.
Read the summary as a next step, not a verdict
The score is a signal about one conversation. The more useful artifact is the conversation itself and the point in it where your reasoning became clearer or needed a different path.
Workflow 7
Settings and signing out
Open the navigation panel
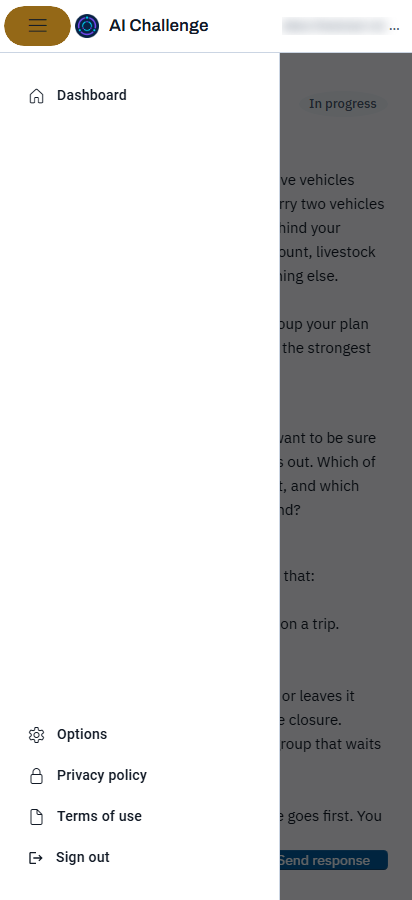
On a wide screen the navigation panel is docked open beside the page. On a narrow screen it is hidden until you choose the menu button at the top left, and then it slides over the page. It holds Dashboard, Options, About - which names the version you are running and links the privacy policy, the terms of use and the third-party notices - and Sign out.
The navigation panel on a narrow screen, opened from the menu button. The email address in the app bar is blurred in this picture.
Set the theme and the Enter key in Options
Options offers a light theme, a dark theme, or following your device, and it decides what the Enter key does while you are writing a response: start a new line, or send the message. Both settings are remembered on your account.
Sign out when you are finished
Sign out opens a short Microsoft window that ends the session and closes itself. The portal returns to the sign-in card.
Product direction
What is not built yet
Planned
Signing yourself up
Self-registration is built but switched off in the beta, because plan selection and payment are not behind it yet. Until they are, an administrator creates the account for you. The consent step is already in place and will apply to a self-registered account unchanged.
Planned
Subscriptions and billing
There are no plans, no billing, and no usage limits in the beta. Do not treat any part of the product as a paid tier yet.
Planned
Sharing a challenge you wrote
A challenge you write is yours alone. Offering it to other learners, and a community library to find theirs in, is planned and not built.
Planned
Support when a session is paused
An assigned student who triggers a safeguard pause has a teacher to review it. An independent learner has nobody in that position, and the in-portal support guidance for that case is still to be built.