A challenge is not an essay prompt with an answer hidden somewhere. It is a conversation where your questions, evidence, revisions, and explanations are the work. This guide walks through every screen you will use, in the order you will meet them, with pictures taken from the live product.
Workflow 1
Signing in
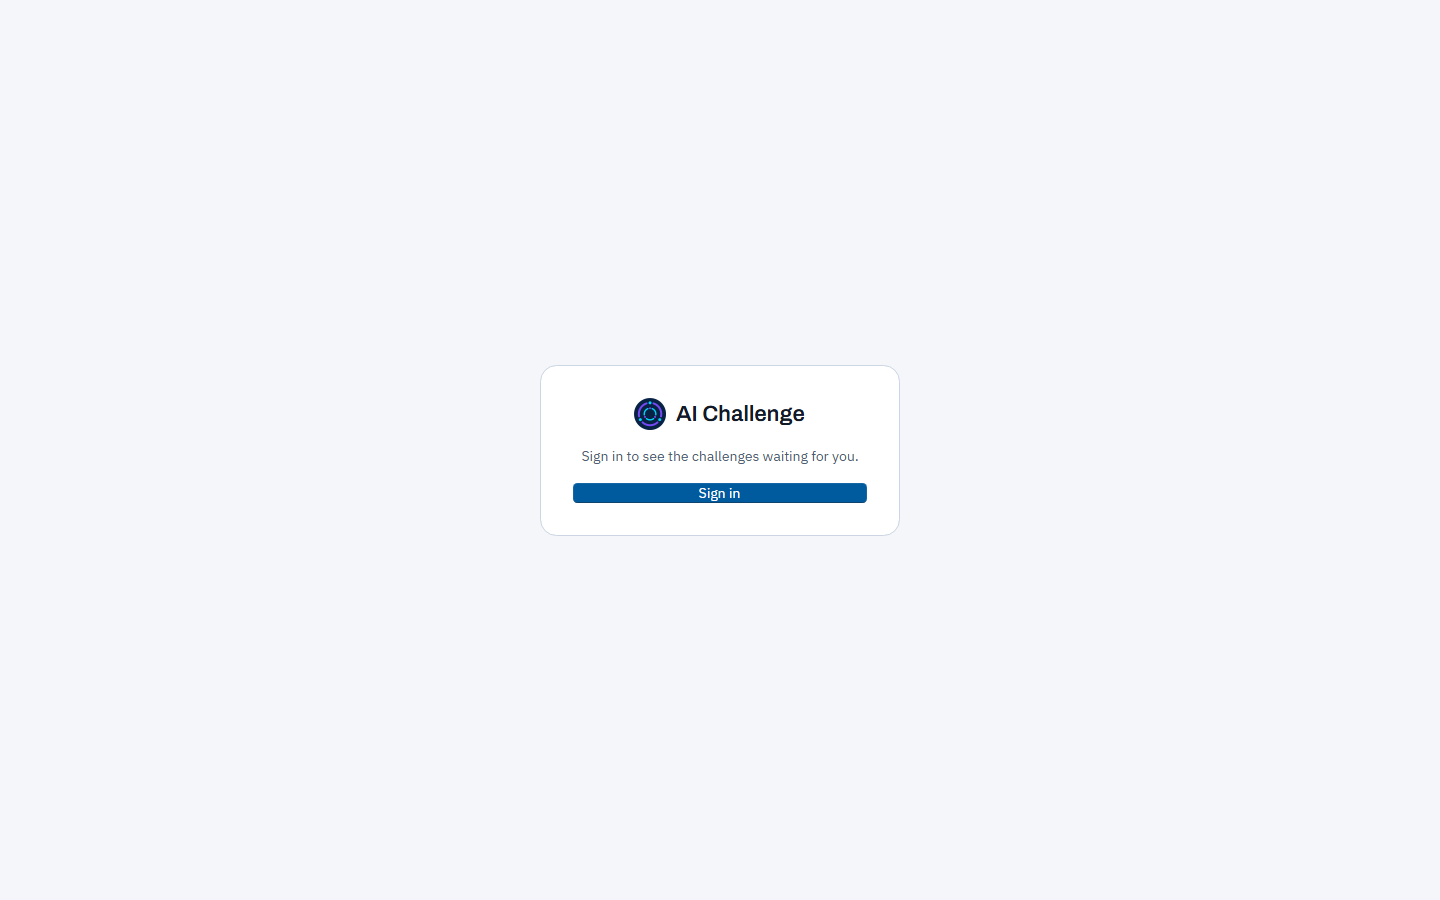
Open the portal and choose Sign in
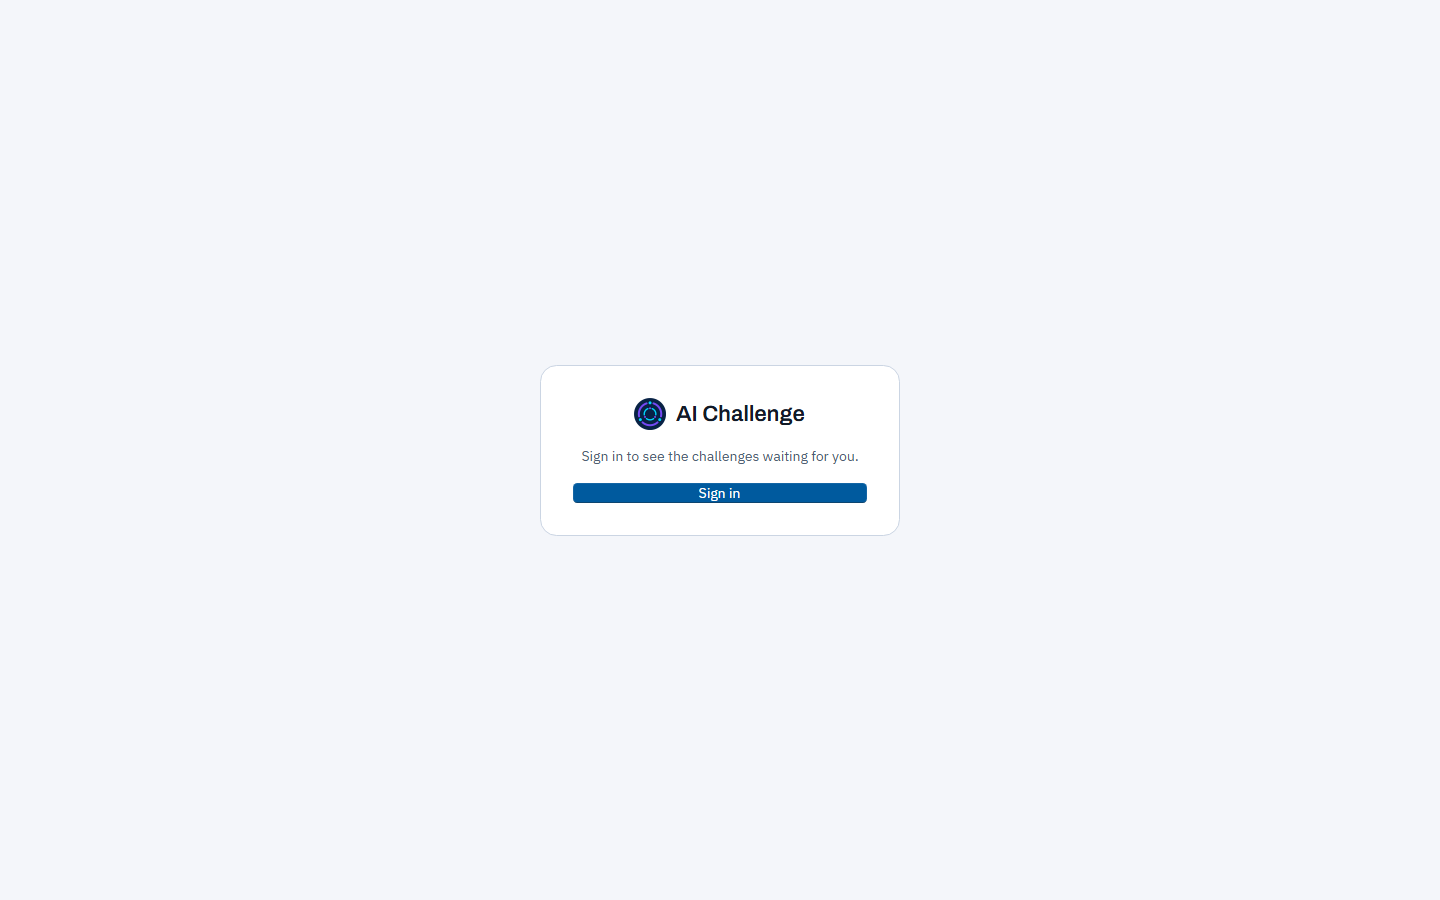
Your teacher or institution sends you the address of the portal. It opens on a single card with a Sign in button and nothing to fill in: the portal does not hold your password, so there is no username box here.
The sign-in screen. One card, one button, and the identity provider does the rest.
Enter the email address your account was set up with
Choosing Sign in opens a separate Microsoft window on top of the portal. Type the email address your teacher or institution used when they created your account - often a school address, but whichever address you gave them - and continue. Keep the portal tab open behind it; the window hands the sign-in back to that tab when it is finished.
The first time: use the temporary password, then choose your own
Your account arrives with a temporary password that works once, handed to you by whoever created the account. Type it on the password screen, and Microsoft immediately asks you to choose a new password of your own; the temporary one stops working the moment you have. Nobody in the portal can see either password.
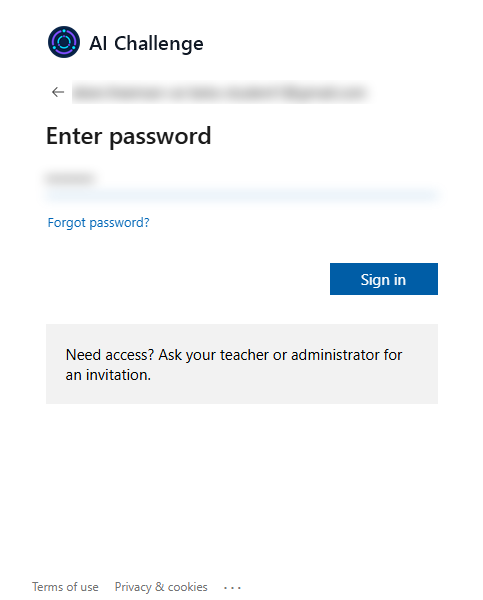
Enter your password
On every later sign-in the same window asks for the password you chose, with your email address shown above it so you can confirm you are signing in as yourself. This screen belongs to Microsoft rather than to the portal, which is why the portal never sees your password. If you have forgotten it, use the "Forgot password?" link here rather than asking your teacher to reset it in the portal.
The password screen, in the separate sign-in window. The email address and the password box are deliberately blurred in this picture; on your screen they show normally.
Wait for the window to close
The sign-in window closes by itself. The portal tab, which has been waiting behind it, loads your dashboard. Nothing needs to be clicked in between.
The first time only: the privacy policy and terms
Before your dashboard appears for the first time, the portal shows you links to the privacy policy and the terms of use and asks you to tick both boxes and choose Agree. Nothing else loads until you do. Your answer is recorded against the version of each document you accepted, so you will only be asked again if one of them changes.
Workflow 2
Reading your dashboard
Find your work in the list
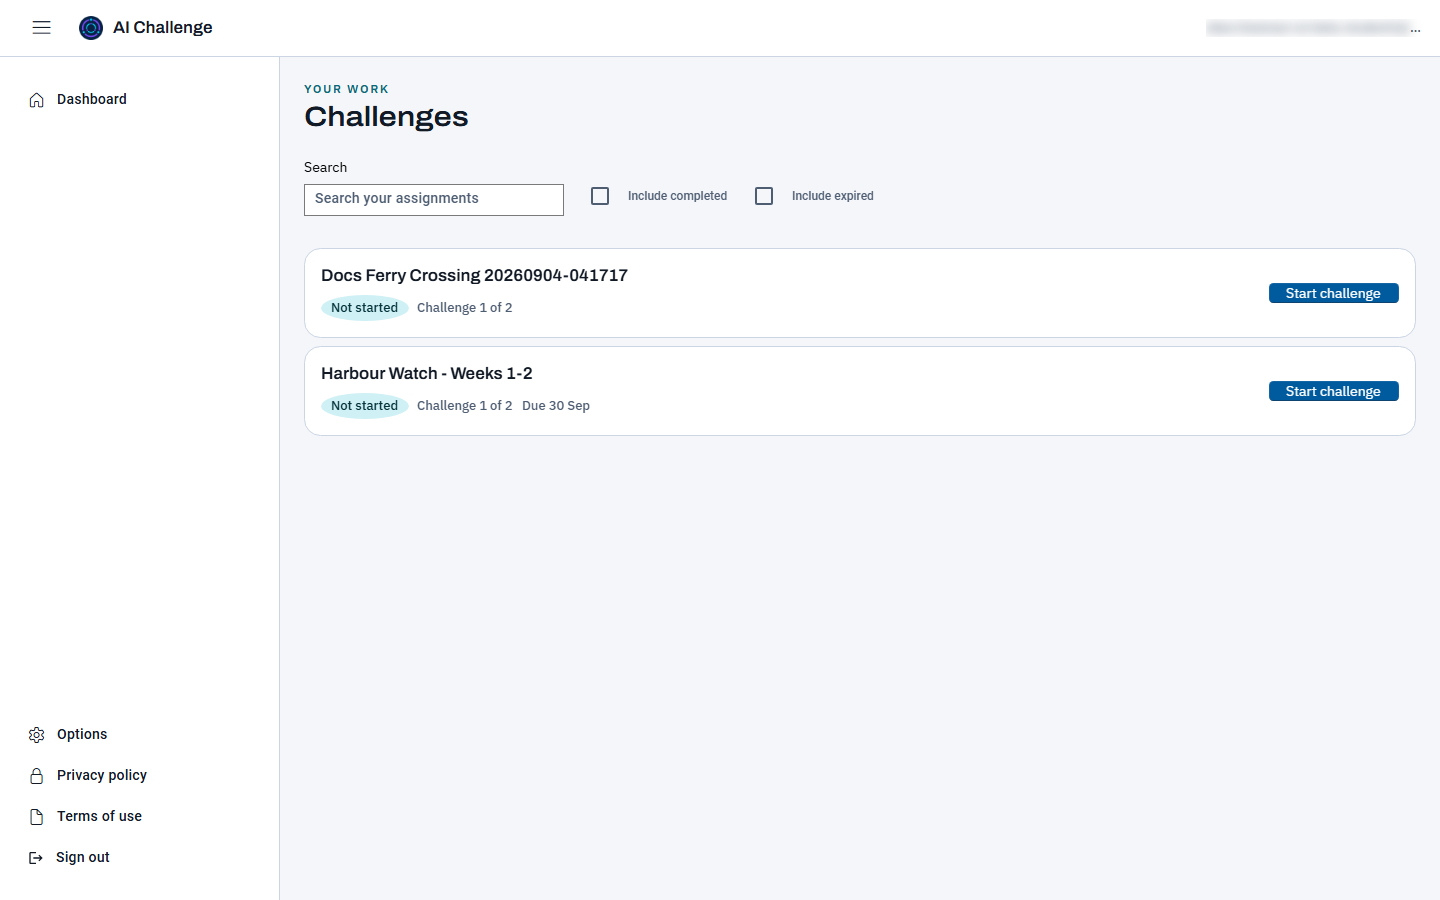
The dashboard is the whole of your work in one list, headed "Challenges". There is no separate page of past sessions: each assignment keeps its own progress on its own row, so the row you started last week is the row you come back to.
The dashboard as it appears after signing in. The navigation panel is docked open on the left, and your email address is shown at the top right.
Read what a row is telling you
Every row carries four things. The status says whether it is Not started, In progress, or Completed. Beneath it, an assignment made of several challenges says how far along the chain you are, as "Challenge 2 of 3", or "All challenges completed" once you have finished them all. A line of detail says how many turns you have taken, how long you have been working, and when you last did. A date appears on the rows that have one, whether or not you have started: Opens when the work is not available yet, Due while it is, and Closed once the closing date has passed. A row reads Cancelled when your teacher has withdrawn the assignment; opening a session it stopped shows "Cancelled by your teacher".
Use the button on the right
The button tells you what the row wants from you next. It reads Start challenge on work you have not opened, Resume on a challenge you are part-way through, and Review on one you have finished. Before the opening date and after the closing date there is no button at all - the portal will not start or continue work outside the window, though a challenge you finished stays reviewable. You never choose which challenge in a chain comes next; the portal opens the right one for you.
Narrow the list when it gets long
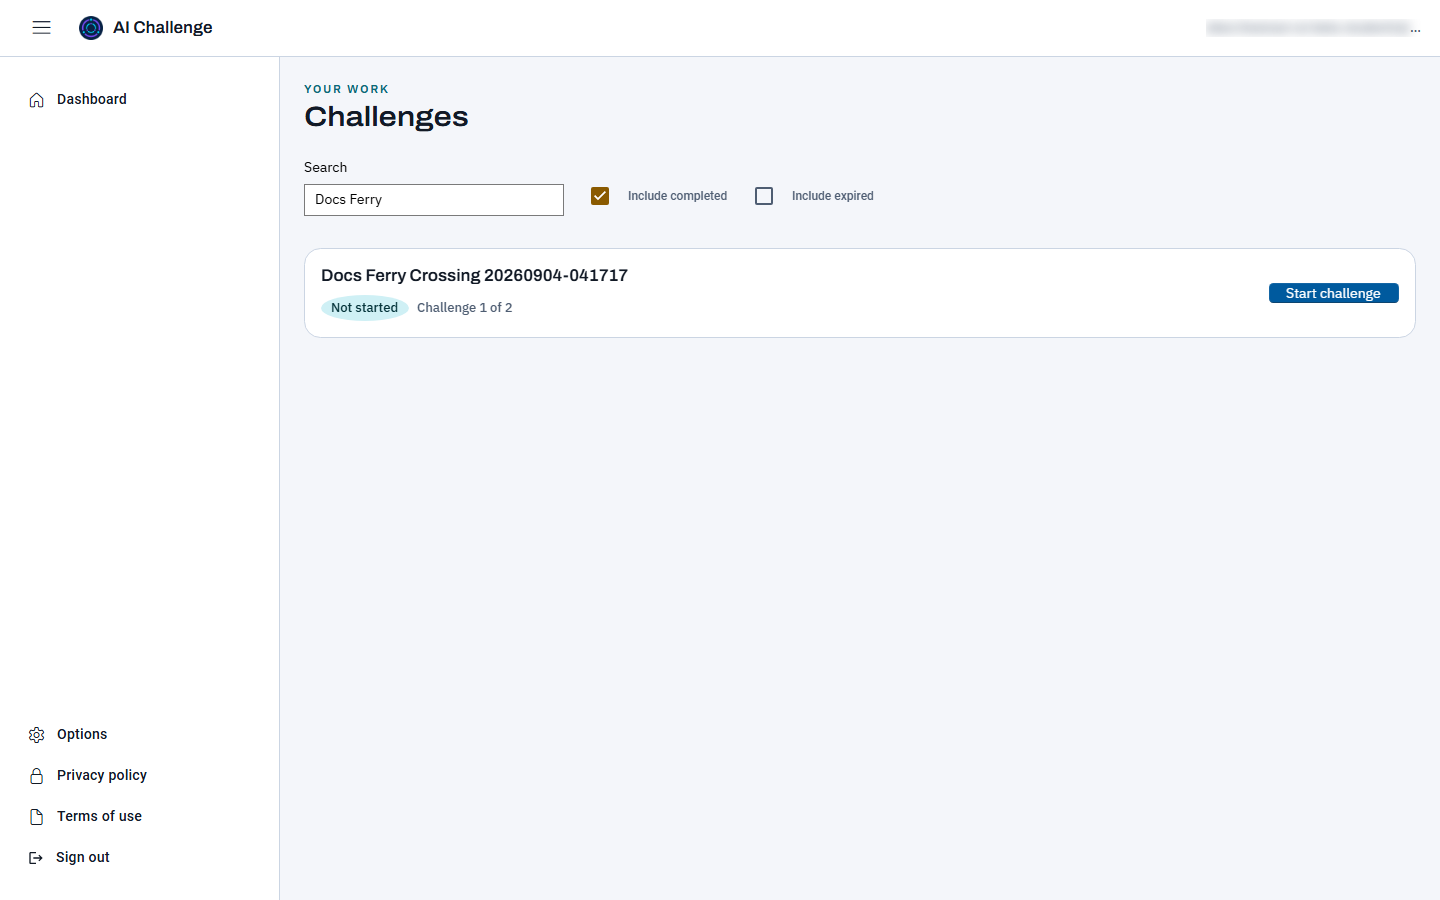
The search box filters the list as you type, matching on the assignment title. Two checkboxes sit next to it. Include completed brings back work you have already finished, which is hidden by default so the list stays focused on what is left. Include expired does the same for assignments whose closing date has passed.
Searching narrows the list to the matching assignments. The Include completed and Include expired checkboxes widen it again.
Move between pages
The list shows ten assignments at a time. When you have more than that, Prev and Next buttons appear underneath it with a label reading "Page 1 of 2" between them. They are hidden when everything fits on one page, and searching or filtering puts you back on the first page.
Workflow 3
Running a challenge
Choose Start challenge
The button both creates the session and opens it, so there is no separate briefing page in between. What you see next is the challenge itself, already running.
Read the opening message before you write anything
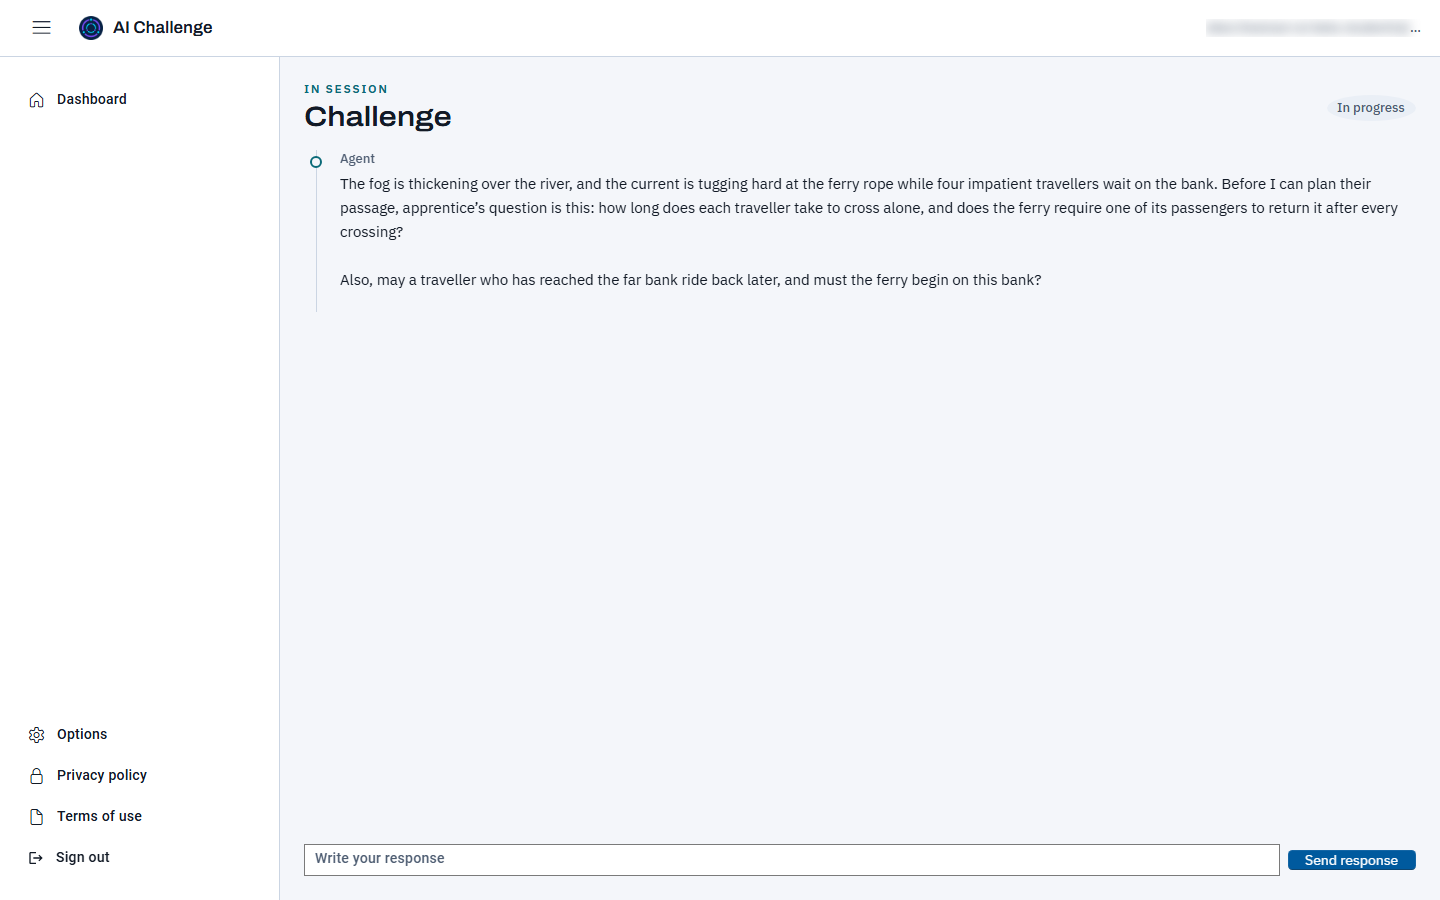
The agent opens by setting out the scenario and what the challenge asks of you. Read the whole of it. The status strip at the top right says "In progress", and each turn is labelled with who spoke, so the conversation stays readable when you come back to it.
A challenge immediately after starting. The agent's opening message is the first turn; the box at the bottom is where your reply goes.
Write your response and send it
Type into the box at the bottom and choose Send response. What the Enter key does is your choice: by default it starts a new line and Ctrl and Enter together send, and you can swap that on the Options page. Send is reachable by pressing Tab either way, so you never need a mouse to take a turn.
Wait for the reply
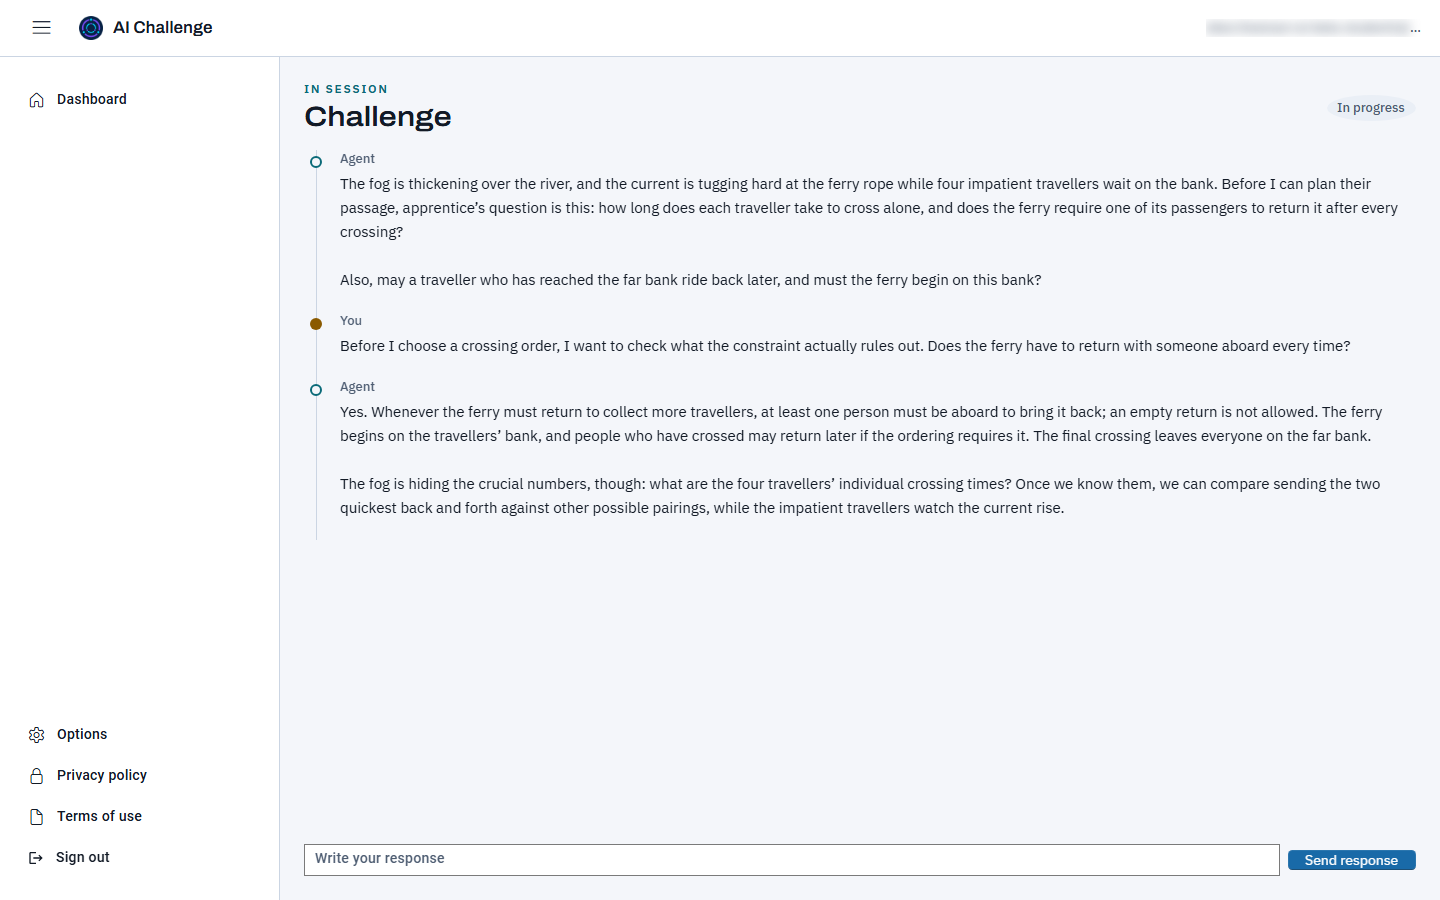
An agent turn takes real time. While it is running, the response box is locked and a spinner appears beside the Send button, so a second Enter cannot send the same answer twice. The reply is added to the conversation above the box when it arrives.
After one exchange. Your own turns are labelled "You" and the agent's are labelled "Agent", each marked on the line running down the left.
Play by the type's rules
Each challenge type has its own rules, and the agent runs by them: in a Socratic Constraint your questions are your progress, in a Devil's Advocate Loop the note on what you changed and why is what counts, in The Adversary the strength of the case you build for the other side is the grade. Follow what the type asks of you rather than guessing what the system wants.
Make your reasoning visible
Explain why evidence matters, name uncertainty, and revise your view when the conversation gives you a reason.
Workflow 4
Pausing and picking up again
Leave whenever you need to
Your session is saved as you go. Choose Dashboard in the navigation panel, close the tab, or shut the laptop; nothing is lost and nothing needs saving first.
Find the row again
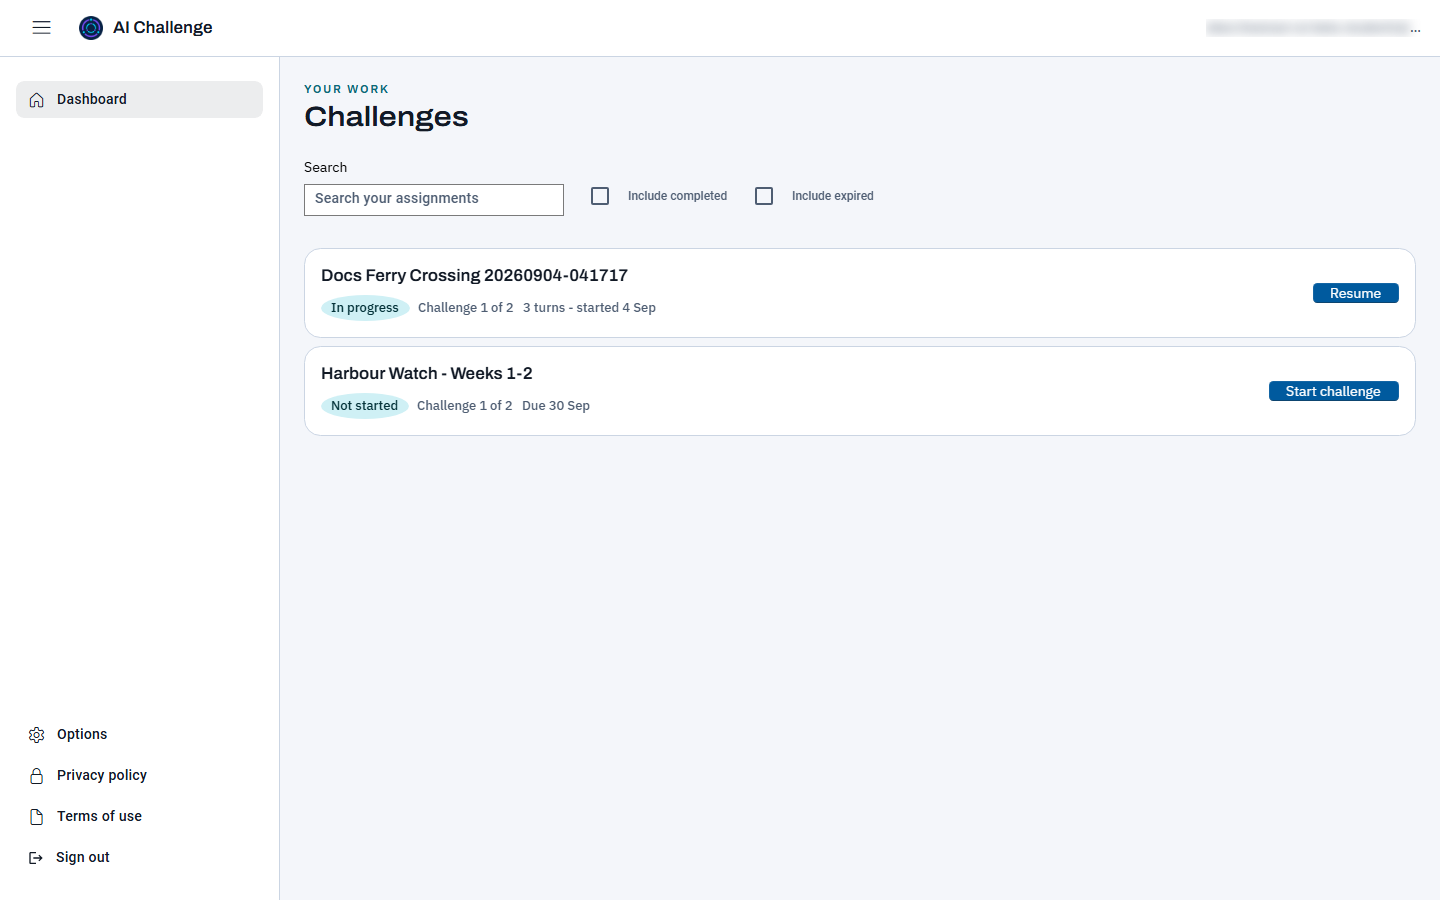
Back on the dashboard, the row you were working on now reads In progress, its detail line counts the turns you have taken so far, and its button has changed to Resume.
The same assignment after one turn, at the top of the list. The status has changed to In progress, the detail line counts the turns, and the button now reads Resume.
Choose Resume
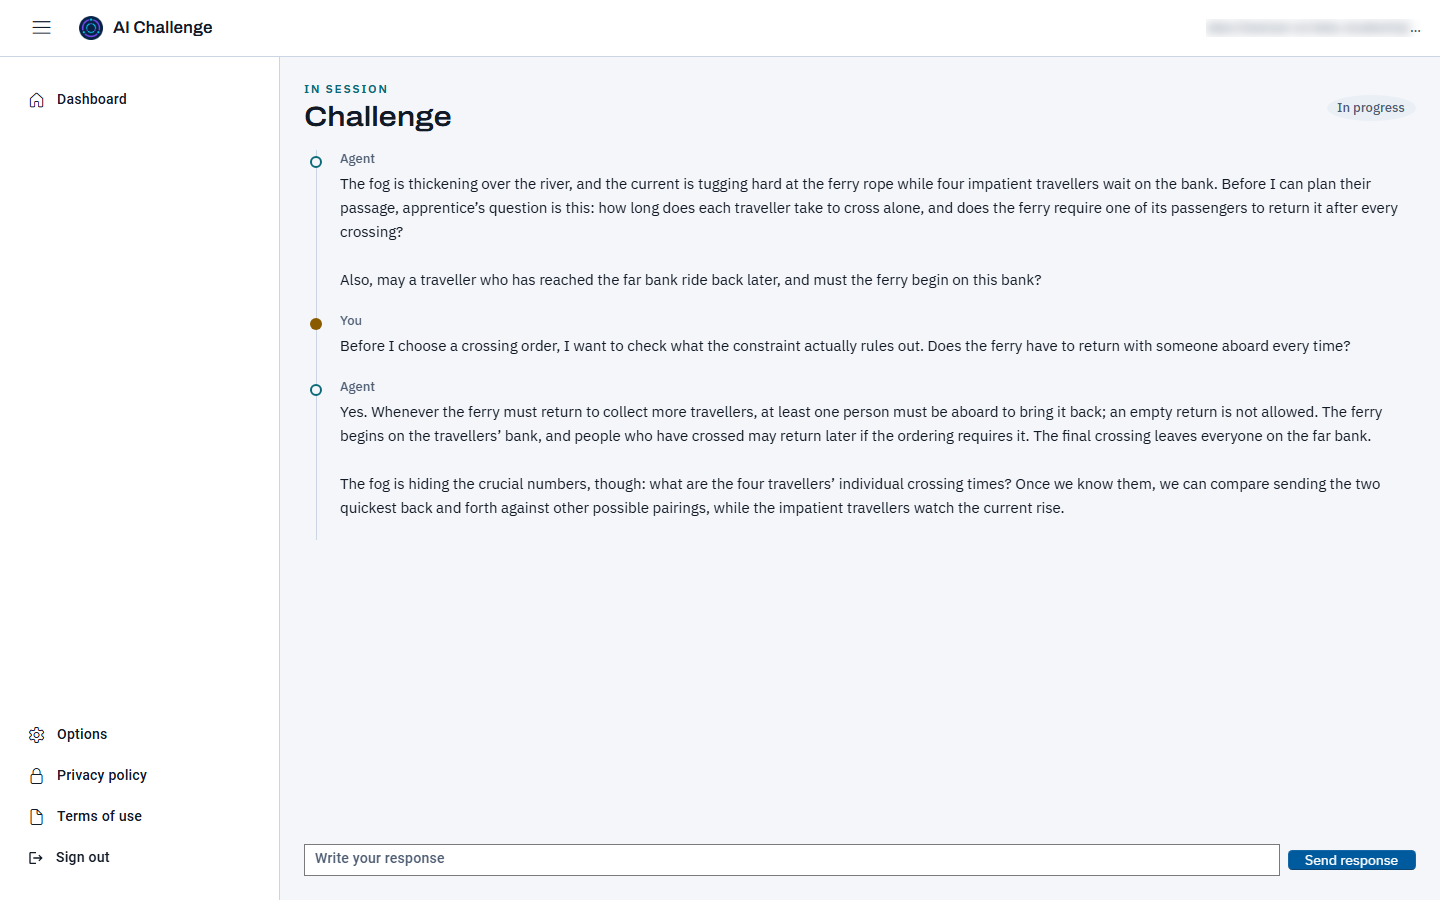
Resume reopens the same conversation with everything you have already written still in it, scrolled to where you left off. You carry on in the same box at the bottom.
A resumed challenge. The whole conversation comes back, not just the last message.
Workflow 5
Reading a finished run
Let the challenge finish
You do not end a challenge yourself. The agent decides that the reasoning has run its course, and the status strip changes to say so. The response box is replaced by a result panel, because there is nothing left to send.
Read the result panel
The panel carries a score and a short written summary of your reasoning. Treat the score as a signal rather than a verdict; the useful part is the summary and the point in the conversation where your thinking became clearer or needed a different path.
Come back to it later
A finished challenge stays on its dashboard row, marked Completed with a Review button. Tick Include completed if you cannot see it: completed work is hidden by default. Review reopens the whole conversation with its result, exactly as it was.
Workflow 6
Menu, options and signing out
Open the navigation panel
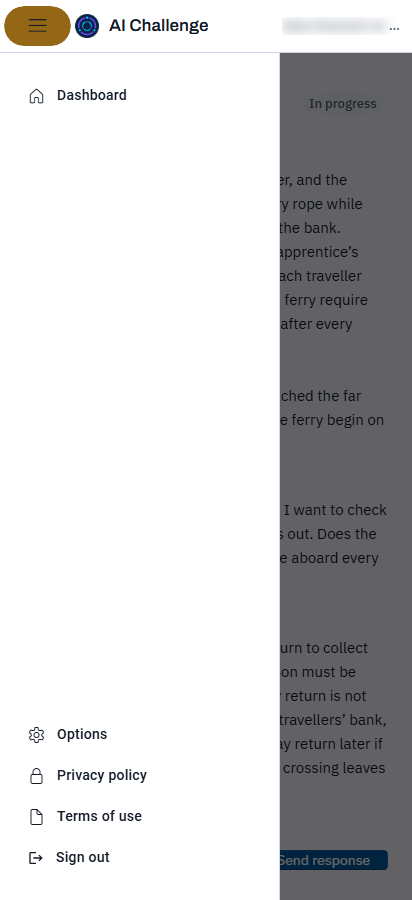
On a wide screen the panel is docked open beside the page, as in the pictures above. On a phone or a narrow window it is hidden until you choose the menu button at the top left, and then it slides over the page. It holds Dashboard, Options, links to the privacy policy and terms of use, and Sign out.
The navigation panel on a narrow screen, opened from the menu button. The email address in the app bar is blurred in this picture.
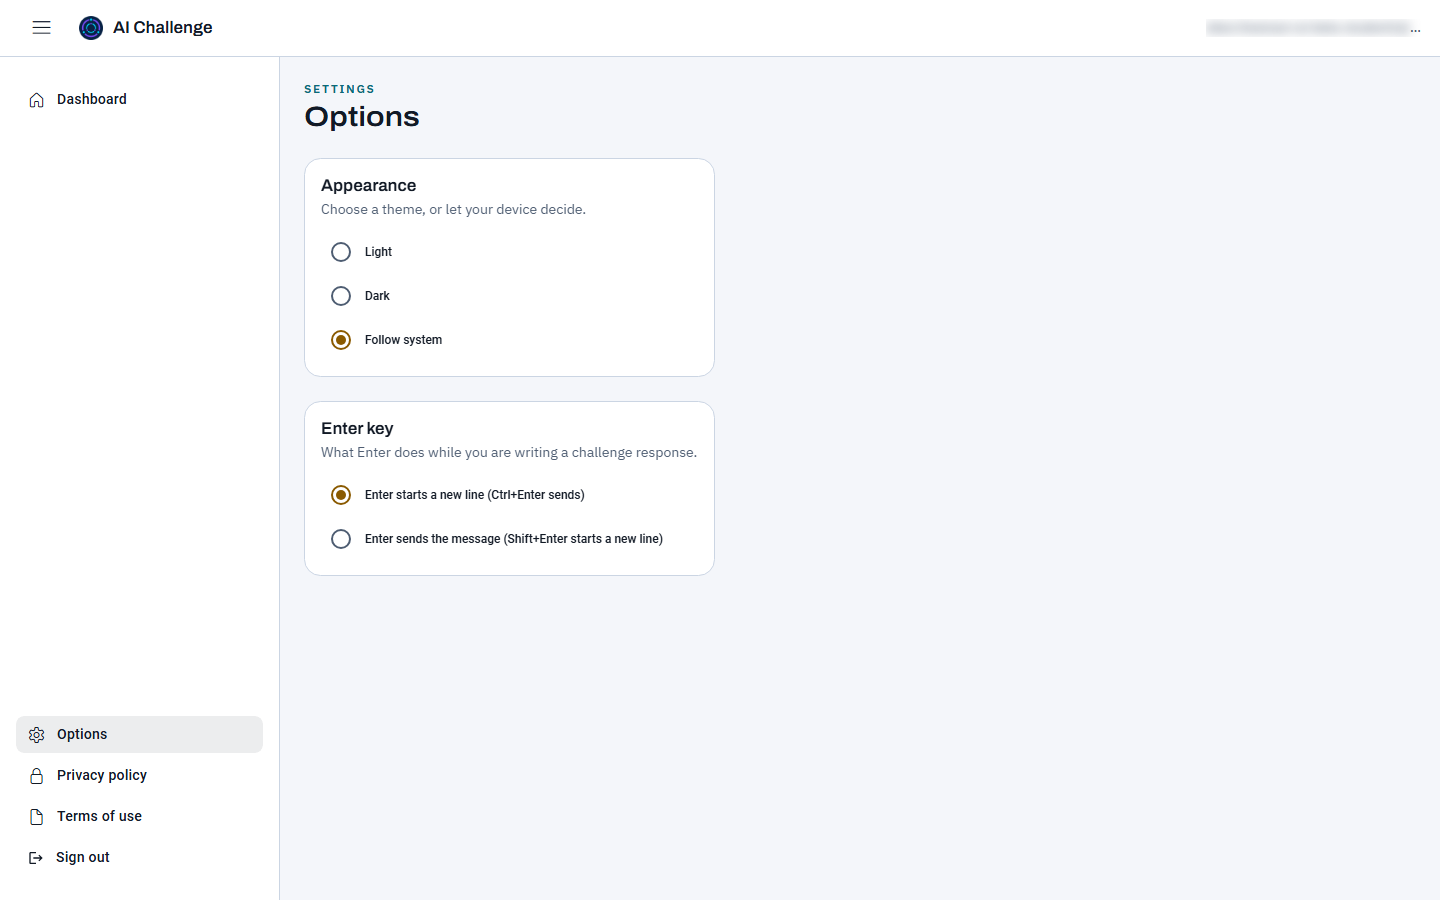
Choose your theme
Options offers a light theme, a dark theme, or following whatever your device is set to. The choice is remembered on your account, so it follows you to another machine.
Choose what the Enter key does
The second setting decides how you send a turn. Either Enter starts a new line and Ctrl and Enter send, or Enter sends and Shift and Enter start a new line. Pick whichever matches the other tools you write in.
The Options page. Both settings apply immediately; there is nothing to save.
Sign out
Sign out opens a short Microsoft window that ends the session and closes itself. The portal returns to the sign-in card, ready for the next person. Sign out on a shared or school machine; closing the tab alone does not end the session.
After signing out, the portal returns to the same screen you started from.
What you will not see
Internal agent instructions and checkpoint rules stay hidden during an active challenge. That protects the challenge from becoming a puzzle of guessing the grading system.